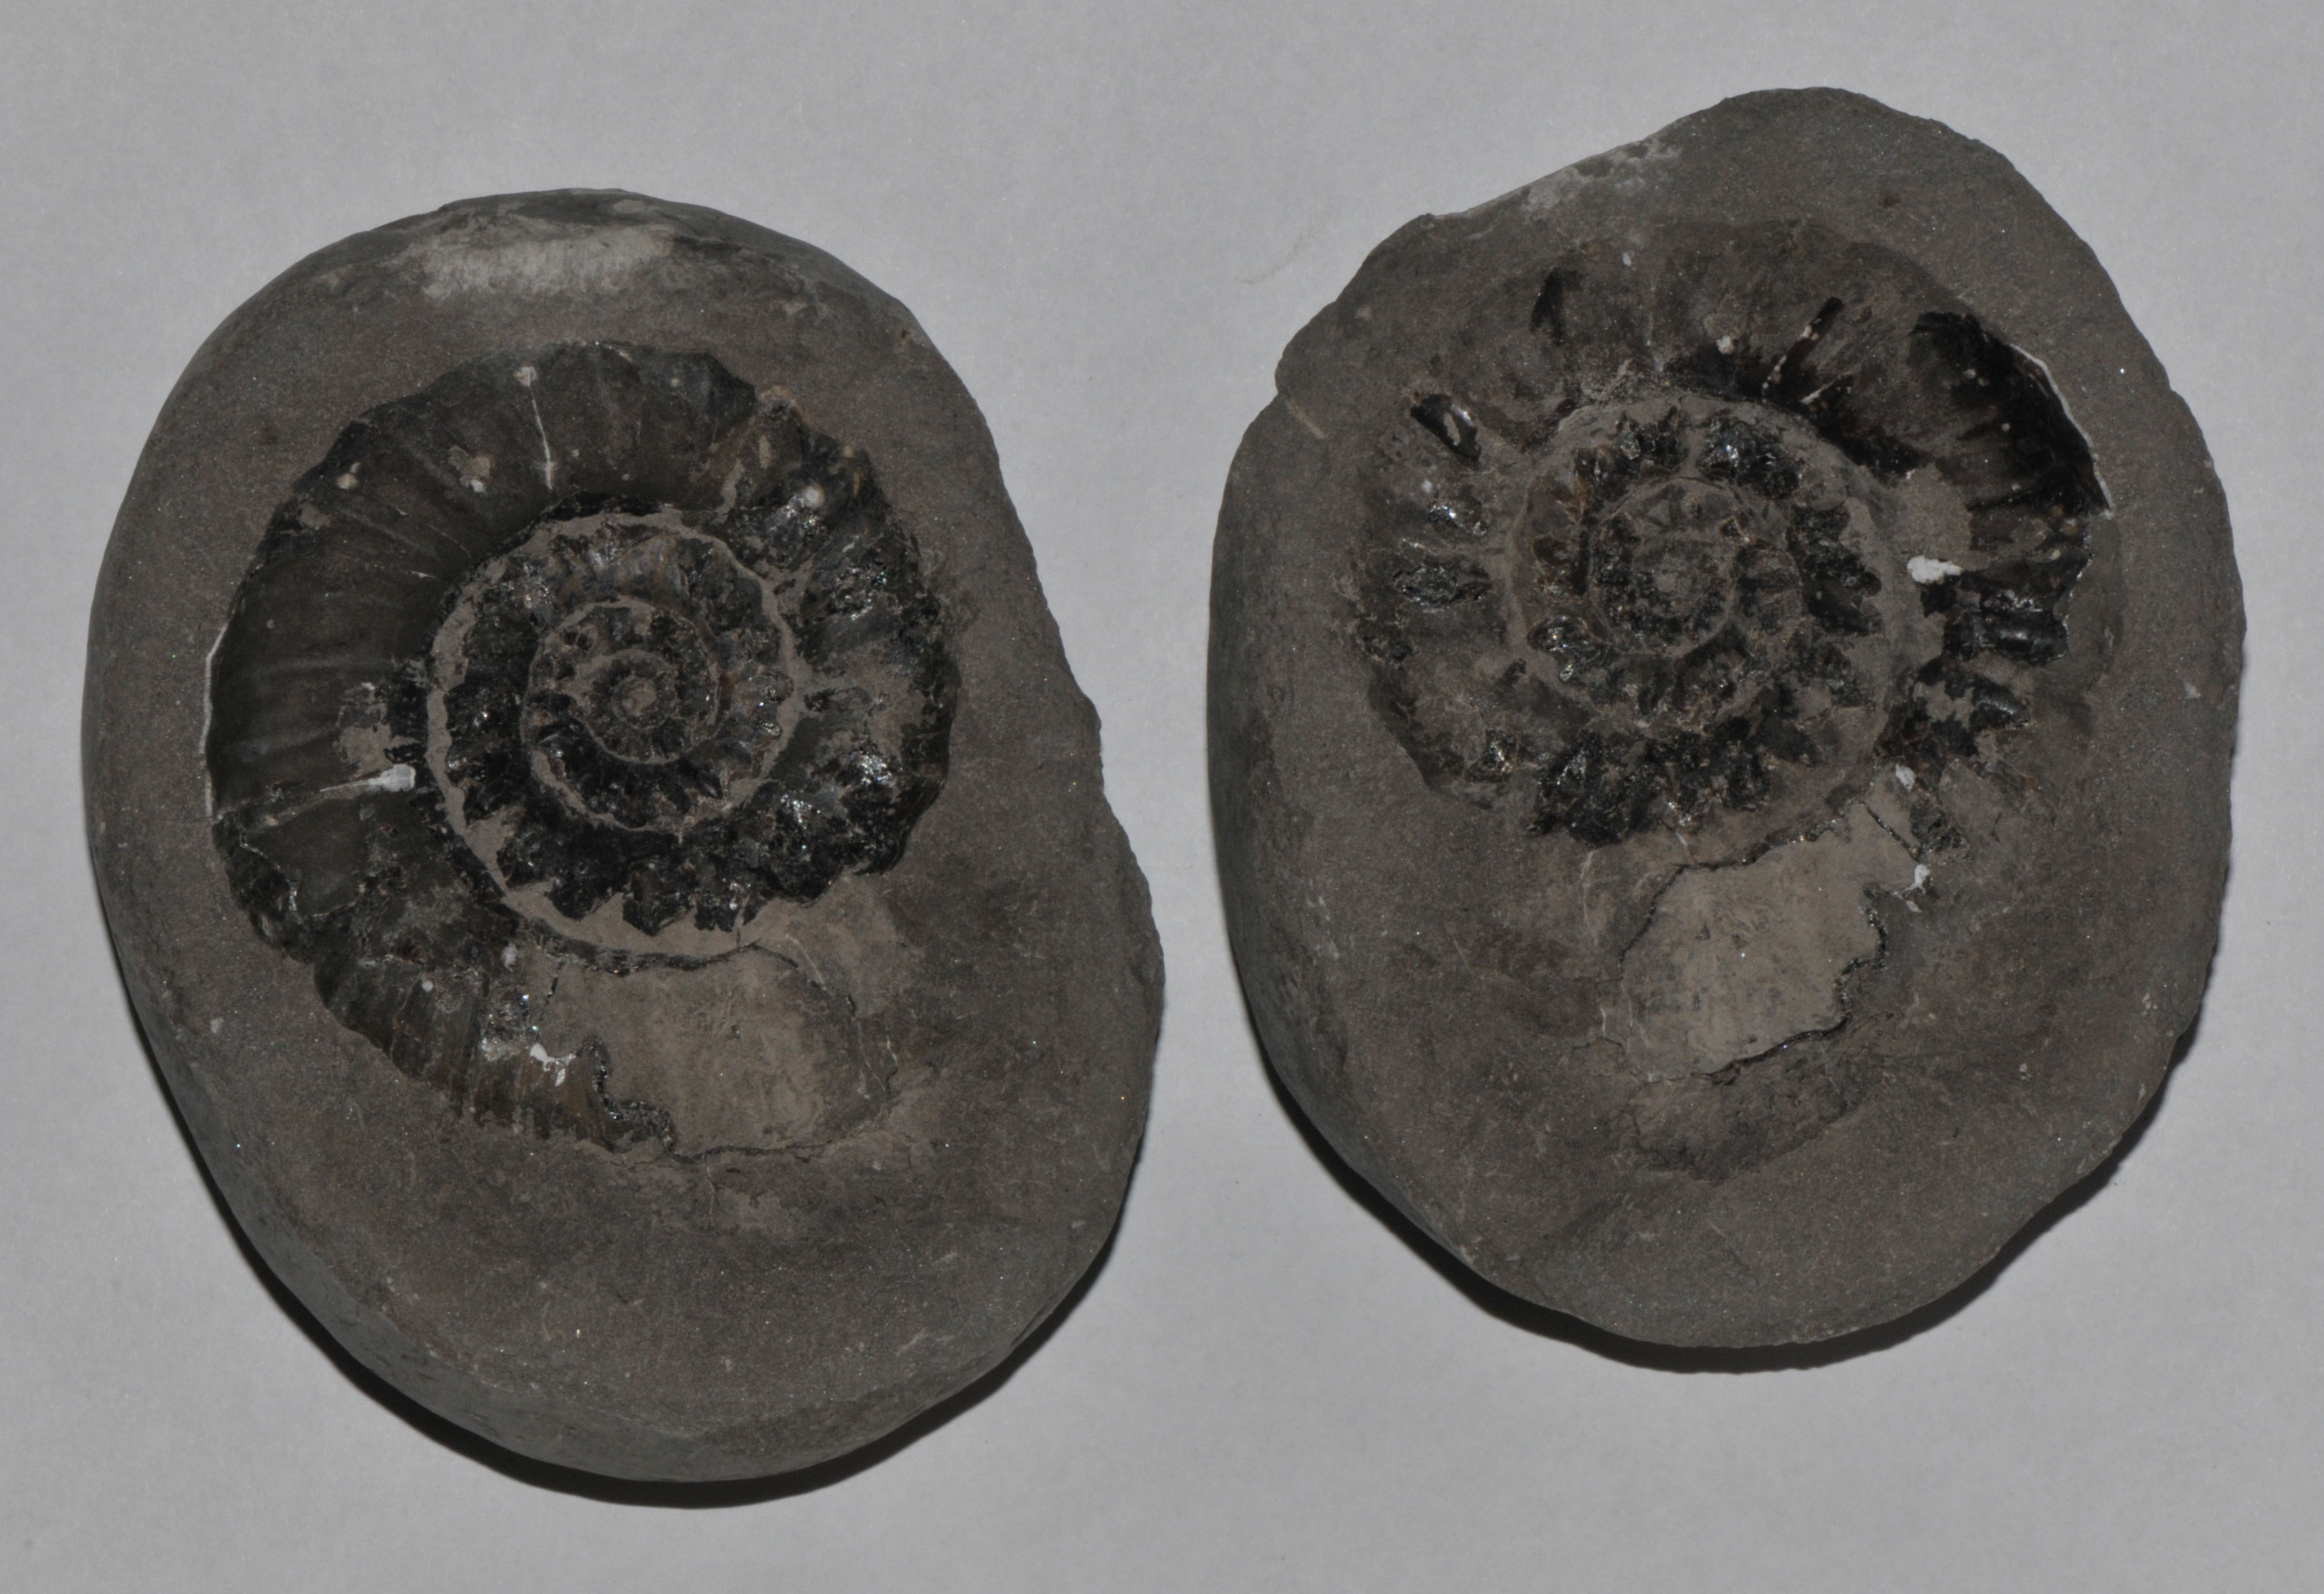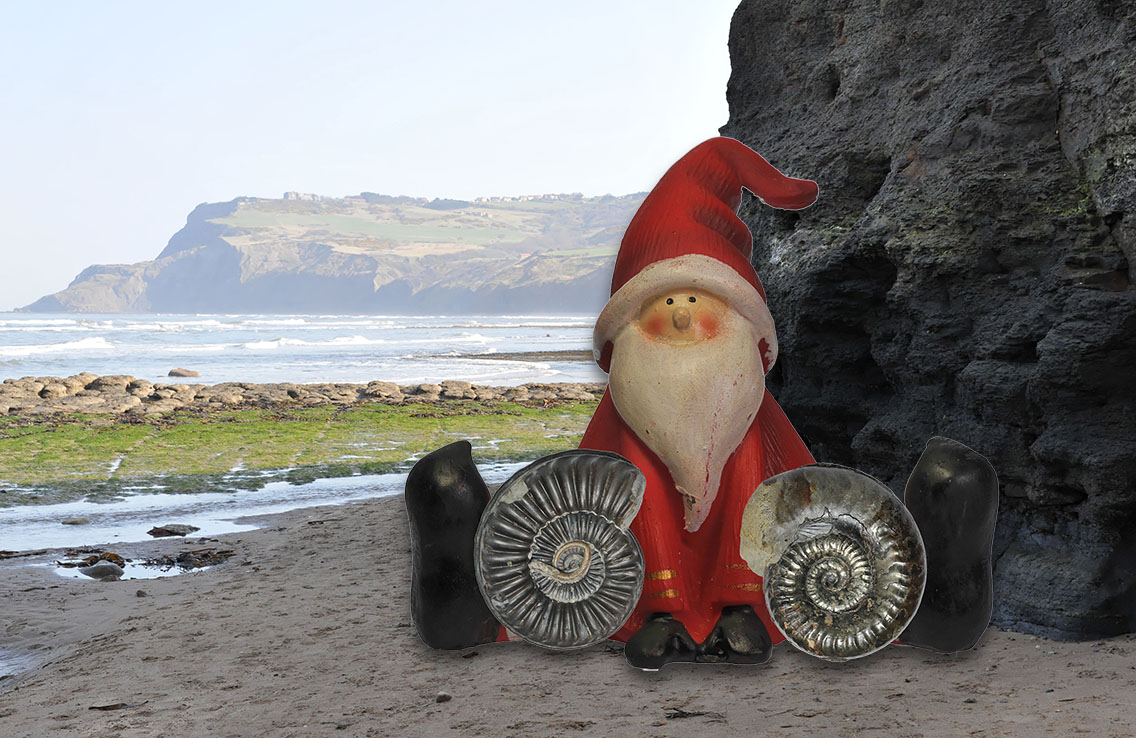
Santa is having a small Coroniceras sp. (left) and a Grammoceras thouarsense (right) leaned against his knees.
Ravenscar in the background.
Well, it’s that time of the year again, time for looking back, taking stock…
I often get asked, when the book will be ready…
2014 has been an extremely busy year for me professionally, with the effect that I
did not have much spare time to work on the book, and I’ve been to the UK only once
this year for collecting (strong withdrawal symptoms…).
Nevertheless I tried keeping up the work, doing at least 1 blog post in a month,
photographing and writing, though I’m not entirely happy with the progress,
but what can you do, the money has to keep coming in…and there are also limits,
how much time you can spend on the computer.
Short answer : It will probably take another year to finish all material,
Short answer : It will probably take another year to finish all material,
so I need to look at 2016 as a rough estimate for publishing.
On a lighter note, on that one visit we met old and new friends,
photographed some stunning new specimen and became a fan of the lowest of the lias.
It was the 25th year we´ve been coming to Yorkshire and it continues to feel like
home from home, we can´t wait to be back in 2015 (hopefully at least twice !).
I have a few days off now, so I sat down before my drawers and looked for what genera
we have not covered so far (and the names mysteriously arranged themselves in a certain order) :
Mucrodactylites
Euagassiceras
Renziceras
Radstockiceras
Yet more :
Cymbites
Haugia
Riparioceras (synonym)
Incidentally also :
Schlotheimia (redcarensis)
Tropidoceras
Microderoceras
Angulaticeras
Schlotheimia (angulata)
Apoderoceras
Nodicoeloceras (incrassatum/crassoides)
Dactylioceras (the ones we have not covered yet)
Agassiceras
Harpoceras (subplanatum)
Arietites
Promicroceras
Pleuroceras
Yet more :
Nodicoeloceras (puteolum)
Eteoderoceras
Waehneroceras
Yet more :
Epophioceras
Androgynoceras
Rakusites (synonym)
By now of course you´ve got the message 🙂 and you probably also noticed that
I had to include some that we did in fact cover or might not even occur in Yorkshire
(look in the R´s)and that I did particularly struggle with the I and the Y´s
(there´s just no species names starting with those letters in the lias…)
but there are also some that did not fit in :
Liparoceras, Oistoceras :
We´ll have a lot of fun with these, including Androgynoceras, heavy stuff, and a
fellow countryman to thank for that…
Psiloceras, Caloceras, Coroniceras, Vermiceras, Alsatites :
Some of the earliest lias ammonites, very interesting stuff, but so difficult to ID
when they´re small…
when they´re small…
Crucilobiceras, Xipheroceras, Platypleuroceras, Bifericeras, Phricodoceras :
Finally – Spiny, spikey cephalopods !
Grammoceras, Phlyseogrammoceras :
Together with Haugia and Harpoceras subplanatum the last of the Hildoceratidae
we´ll have to cover
we´ll have to cover
Epophioceras :
Looks like an Echioceras, but seems to be related more to Asteroceras…
Leptechioceras :
A rare, almost smooth member of the Echioceratinae
Catacoeloceras (crassum, raquinianum) :
Real “Fat Dacs” – we´ll have to work out their differences to Nodicoeloceras
So you see there´s still a lot to be done, chiefly in the Psiloceratidae, Arietitidae,
Cybitidae, Polymorphitidae ,Liparoceratidae, and we´ll have to finish off the
Dactylioceratidae and the Hildoceratidae – and that of course guarantees
that you´ll see some more blog posts next year !
Cybitidae, Polymorphitidae ,Liparoceratidae, and we´ll have to finish off the
Dactylioceratidae and the Hildoceratidae – and that of course guarantees
that you´ll see some more blog posts next year !
In terms of visitors of the blog, it was another great year, getting close to 40.000
views in total, about 15.000 this year. In terms of geography I guess by now we´ve
had visitors from most countries with Jurassic deposits, all though readers from
Greenland stubbornly refuse to visit 🙂 :
views in total, about 15.000 this year. In terms of geography I guess by now we´ve
had visitors from most countries with Jurassic deposits, all though readers from
Greenland stubbornly refuse to visit 🙂 :

All time visitors by geography – not many white spaces left !
Not on the top 22, but all the same : Seasons greetings to a friend reading these pages
doing a gap year in Cambodia.
doing a gap year in Cambodia.
With best wishes for a peaceful, happy time for you and yours, wherever you are.
AndyS